

Hey there! As a supplier of Solid WPC Flooring, I often get asked about the tools needed to install this type of flooring. So, I thought I'd put together a blog post to share all the essential tools you'll need for a successful installation.
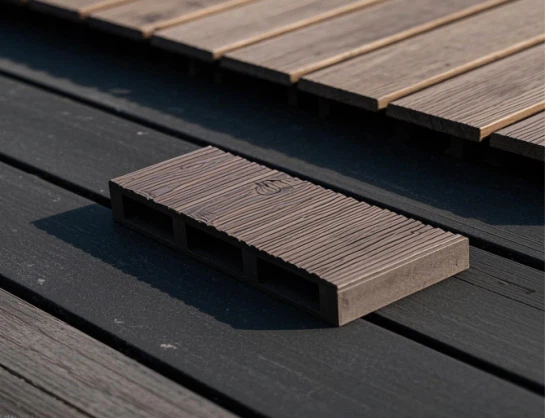
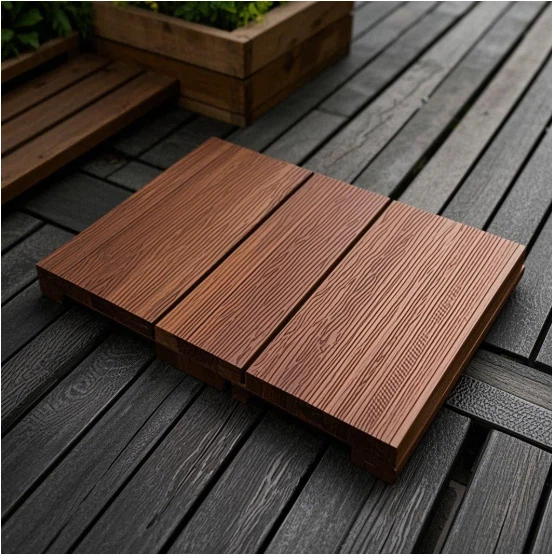
First things first, let's talk a bit about Solid WPC Flooring. It's a great option for both residential and commercial spaces. Solid WPC Flooring offers durability, water resistance, and a beautiful aesthetic that can mimic the look of natural wood. You can check out more about Solid WPC Flooring on our website Solid WPC Flooring.
Measuring Tools
The first step in any flooring installation is accurate measurement. You don't want to end up with too much or too little flooring, right?
- Tape Measure: A good-quality tape measure is a must-have. You'll use it to measure the length and width of the room where you're installing the flooring. Make sure to measure multiple times to ensure accuracy. A 25-foot tape measure is usually sufficient for most rooms, but if you're working on a large area, you might want to consider a longer one.
- Laser Measurer: This tool is a real time-saver, especially for larger spaces. It uses a laser beam to measure distances quickly and accurately. You can easily measure the dimensions of the room, as well as the distance between walls and other fixed objects. It's a bit more expensive than a tape measure, but it's definitely worth the investment if you're doing a lot of flooring installations.
Cutting Tools
Once you have your measurements, you'll need to cut the Solid WPC Flooring to fit the space.
- Jigsaw: A jigsaw is a versatile tool that can be used to make curved and straight cuts in the flooring. It's a great option for cutting around obstacles like pipes and vents. Make sure to use a fine-tooth blade designed for cutting plastic or composite materials to get a clean cut.
- Circular Saw: If you need to make long, straight cuts, a circular saw is the way to go. It's faster and more efficient than a jigsaw for straight cuts. Just like with the jigsaw, use a blade designed for cutting plastic or composite materials. And always wear safety goggles and ear protection when using a circular saw.
- Utility Knife: A utility knife is handy for making small cuts and trimming the edges of the flooring. It's also useful for scoring the surface of the flooring before making a deeper cut with a saw. Make sure to keep the blade sharp for clean and precise cuts.
Installation Tools
Now that you have your measuring and cutting tools, it's time to start installing the flooring.
- Tapping Block: A tapping block is used to tap the planks together during installation. It helps to ensure a tight fit between the planks without damaging the edges. You can make your own tapping block out of a piece of scrap wood, or you can buy one specifically designed for flooring installation.
- Pull Bar: A pull bar is used to pull the planks together at the ends of the rows. It's especially useful for installing Wpc Click Flooring, which uses a click-lock system. The pull bar helps to create a secure connection between the planks.
- Spacers: Spacers are used to create an expansion gap around the perimeter of the room. This gap allows the flooring to expand and contract with changes in temperature and humidity without buckling or warping. You can use plastic or wooden spacers, depending on your preference. Make sure to leave a gap of at least 1/4 inch around the edges of the room.
Miscellaneous Tools
In addition to the above tools, there are a few other items that you'll need for a successful installation.
- Chalk Line: A chalk line is used to create a straight reference line on the subfloor. This line helps to ensure that the planks are installed in a straight and even pattern. You can use a chalk line to mark the center of the room or to create a border around the perimeter.
- Hearing Protection: As mentioned earlier, power tools can be loud. Wearing hearing protection, such as earplugs or earmuffs, is essential to protect your ears from damage.
- Safety Goggles: When using power tools, there's always a risk of flying debris. Safety goggles protect your eyes from getting injured by small particles. Make sure to wear them at all times when using cutting tools.
- Knee Pads: Installing flooring can be hard on your knees, especially if you're working on a hard surface for an extended period of time. Knee pads provide cushioning and support, making the installation process more comfortable.
Tips for a Successful Installation
- Prepare the Subfloor: Before installing the Solid WPC Flooring, make sure the subfloor is clean, dry, and level. Any unevenness in the subfloor can cause the flooring to buckle or warp over time. You may need to sand or level the subfloor if necessary.
- Read the Manufacturer's Instructions: Every type of flooring is different, so it's important to read the manufacturer's instructions carefully before starting the installation. The instructions will provide specific guidelines on how to install the flooring, including the recommended tools and techniques.
- Take Your Time: Flooring installation is a detailed process, so don't rush it. Take your time to measure, cut, and install each plank correctly. This will ensure a professional-looking finish and a long-lasting installation.
Conclusion
Installing Solid WPC Flooring can be a rewarding DIY project if you have the right tools and follow the proper installation techniques. By using the tools mentioned in this blog post, you'll be well on your way to a successful installation.
If you're interested in purchasing Solid WPC Flooring or have any questions about the installation process, don't hesitate to get in touch with us. We're here to help you every step of the way. Whether you're a professional installer or a DIY enthusiast, we can provide you with the high-quality Solid WPC Flooring you need for your project.
References
- Flooring Installation Guides from Industry Experts
- Manufacturer's Documentation for Solid WPC Flooring