

Hey there! I'm a supplier of WPC flooring, and I know how annoying it can be when you notice scratches on your beautiful floors. But don't worry, I've got some tips and tricks to help you repair those scratches and make your WPC flooring look as good as new.
Understanding WPC Flooring
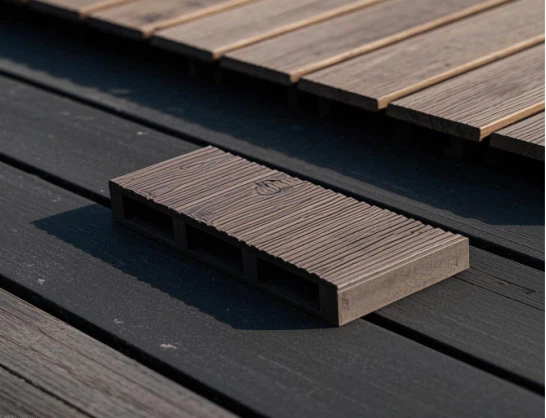
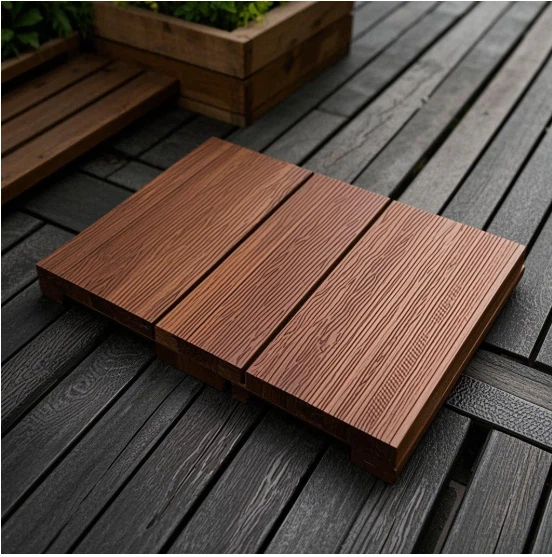
First off, let's quickly go over what WPC flooring is. WPC stands for Wood Plastic Composite. It's a type of flooring that combines wood fibers and plastic polymers, which gives it some great properties. It's durable, water - resistant, and looks pretty similar to real wood. There are different types of WPC flooring, like Solid WPC Flooring and Wpc Click Flooring.
Causes of Scratches on WPC Flooring
Scratches on WPC flooring can happen for a bunch of reasons. Heavy furniture being dragged across the floor is a big culprit. Pets with sharp claws can also leave marks as they run around. Even sand or small debris that gets tracked in on shoes can cause scratches over time.
Assessing the Scratch
Before you start any repair work, you need to figure out how deep the scratch is. A light surface scratch is usually easier to fix than a deep one that goes through the top layer of the flooring.
- Light Surface Scratches: These are the ones that just affect the very top of the flooring. You can usually tell because they're not very noticeable from a distance and don't feel very deep when you run your finger over them.
- Deep Scratches: These are more obvious. They might be visible from across the room and you can feel a distinct groove when you touch them.
Repairing Light Surface Scratches
Using a Furniture Scratch Repair Kit
One of the easiest ways to fix light surface scratches is by using a furniture scratch repair kit. These kits usually come with a wax or crayon that matches the color of your flooring.
- Clean the Area: First, use a soft, damp cloth to clean the scratched area. Make sure to remove any dirt or debris. Let it dry completely.
- Match the Color: Pick the color from the kit that best matches your WPC flooring. It might take a bit of trial and error, but getting a close match is important for a good repair.
- Fill the Scratch: Rub the wax or crayon into the scratch. Use firm pressure and go back and forth until the scratch is filled.
- Buff the Area: After filling the scratch, use a clean, dry cloth to buff the area. This will smooth out the wax and make it blend in with the rest of the flooring.
Using Olive Oil or Mineral Oil
If you don't have a scratch repair kit on hand, you can also try using olive oil or mineral oil.
- Apply the Oil: Dip a soft cloth into the oil and then gently rub it into the scratch. Make sure to cover the entire scratch.
- Let it Sit: Let the oil sit on the scratch for about 10 - 15 minutes. This will help the oil seep into the scratch and make it less noticeable.
- Wipe off the Excess: Use a clean cloth to wipe off any excess oil. You might need to do this a few times to get all the oil off.
Repairing Deep Scratches
Using a Flooring Filler
For deep scratches, a flooring filler is your best bet. You can find these at most home improvement stores.
- Clean the Scratch: Just like with light scratches, start by cleaning the area. Use a vacuum or a soft brush to get any dirt out of the scratch.
- Choose the Right Filler: Make sure to pick a filler that's designed for WPC flooring. It should also match the color of your floor as closely as possible.
- Apply the Filler: Use a putty knife to apply the filler to the scratch. Fill it up completely and make sure it's level with the rest of the flooring.
- Let it Dry: Follow the instructions on the filler for drying time. It usually takes a few hours to dry completely.
- Sand the Area: Once the filler is dry, use fine - grit sandpaper to sand the area. Sand gently until the filler is smooth and blends in with the surrounding flooring.
- Finish with a Sealant: To protect the repaired area, apply a thin layer of sealant. This will also make the repaired area look more like the rest of the floor.
Replacing a Damaged Plank
If the scratch is really bad and can't be repaired, you might need to replace a damaged plank. This is a bit more involved, but it's doable if you're handy.
- Remove the Damaged Plank: Use a utility knife to cut the damaged plank along the edges. Then, carefully pry it up using a flat - head screwdriver or a pry bar.
- Prepare the New Plank: Cut the new plank to the right size. Make sure to measure accurately so it fits perfectly in the space.
- Install the New Plank: Slide the new plank into place. If you have Wpc Click Flooring, it should click into position easily. For other types of WPC flooring, you might need to use an adhesive.
- Finish the Installation: Once the new plank is in place, use a rubber mallet to tap it down gently and make sure it's secure.
Preventing Future Scratches
Now that you've repaired your WPC flooring, you'll want to prevent future scratches.
- Use Furniture Pads: Put pads on the legs of your furniture. This will prevent them from scratching the floor when you move them around.
- Clean Regularly: Sweep or vacuum your floors regularly to remove sand and debris that can cause scratches.
- Trim Your Pet's Claws: If you have pets, keep their claws trimmed. This will reduce the chances of them scratching the floor.
Conclusion
Repairing scratches on WPC flooring isn't as hard as it might seem. With the right tools and a bit of know - how, you can make your floors look great again. Whether it's a light surface scratch or a deep one, there are solutions available.
If you're in the market for new WPC flooring or need more advice on flooring maintenance and repair, I'm here to help. Just reach out, and we can start a conversation about your flooring needs.
References
- Home Depot DIY Guides
- Lowe's Flooring Repair Tips
- Manufacturer's WPC Flooring Installation and Maintenance Manuals