

Installing baseboards on a stone wall can be a challenging yet rewarding project. As a baseboard supplier, I've seen firsthand how the right baseboards can transform the look of a room, adding a touch of elegance and finishing off the space beautifully. In this blog post, I'll walk you through the step-by-step process of installing baseboards on a stone wall, sharing some tips and tricks along the way.
Step 1: Measure and Plan
Before you start any installation project, it's crucial to measure the length of the wall where you'll be installing the baseboards. Use a tape measure to get accurate measurements, and make sure to account for any corners or angles. It's also a good idea to plan out where you'll be making cuts and joints, especially if you're working with a complex layout.
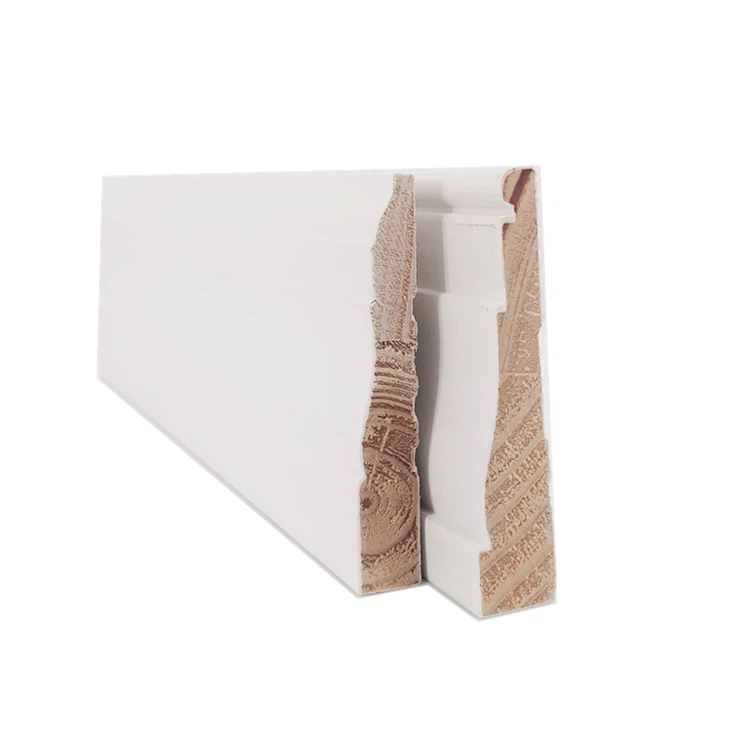
Once you have your measurements, it's time to choose the right baseboards for your project. At our store, we offer a wide range of baseboards, including White Primed Skirting Board, Solid Pine Baseboard, and Primed Pine Skirting Board. Each type of baseboard has its own unique characteristics and benefits, so take the time to choose the one that best suits your style and budget.
Step 2: Prepare the Wall
Before you can install the baseboards, you'll need to prepare the stone wall. Start by cleaning the wall thoroughly to remove any dirt, dust, or debris. You can use a damp cloth or a mild cleaning solution to clean the wall. Once the wall is clean, inspect it for any cracks or uneven surfaces. If you find any cracks, fill them with a suitable filler and let it dry completely.
Next, you'll need to mark the location of the baseboards on the wall. Use a level and a pencil to draw a straight line along the bottom of the wall where the baseboards will be installed. This will help you ensure that the baseboards are installed straight and level.
Step 3: Cut the Baseboards
Once you have the baseboards and the wall prepared, it's time to cut the baseboards to the appropriate length. Use a miter saw to make the cuts, and make sure to measure twice and cut once to avoid any mistakes. If you're working with corners or angles, you'll need to make miter cuts to ensure a seamless fit.
When making miter cuts, it's important to use a sharp blade and to take your time. Make sure to set the miter saw to the correct angle, and use a clamp to hold the baseboard in place while you make the cut. If you're not comfortable making miter cuts, you can always ask a professional for help.
Step 4: Install the Baseboards
Now that the baseboards are cut to the appropriate length, it's time to install them on the wall. Start by applying a bead of construction adhesive to the back of the baseboard, and then press the baseboard firmly against the wall, aligning it with the marked line. Use a level to ensure that the baseboard is straight and level, and then use finishing nails or a nail gun to secure the baseboard to the wall.
When nailing the baseboards to the wall, make sure to use the appropriate size and type of nails. For most baseboards, 18-gauge finish nails are a good choice. Make sure to space the nails evenly along the length of the baseboard, and drive them in at a slight angle to ensure a secure hold.
If you're working with corners or angles, you'll need to join the baseboards together using a miter joint. To do this, apply a small amount of wood glue to the mitered edges of the baseboards, and then press them together firmly. Use a clamp to hold the baseboards in place while the glue dries, and then use finishing nails or a nail gun to secure the joint.
Step 5: Fill the Nail Holes and Sand the Baseboards
Once the baseboards are installed, you'll need to fill the nail holes with wood filler. Use a putty knife to apply the wood filler to the nail holes, and then smooth it out with the putty knife. Let the wood filler dry completely, and then sand the baseboards lightly to smooth out any rough edges or surfaces.
Step 6: Paint or Stain the Baseboards
Finally, it's time to paint or stain the baseboards to match the rest of the room. You can choose to paint the baseboards the same color as the wall for a seamless look, or you can choose a contrasting color to make the baseboards stand out. If you're using a stain, make sure to choose a stain that is compatible with the type of wood used in the baseboards.
Before you start painting or staining the baseboards, make sure to protect the surrounding area with painter's tape or drop cloths. Apply the paint or stain using a brush or a roller, and make sure to follow the manufacturer's instructions for application and drying times.

Tips and Tricks
- Use a caulking gun to fill any gaps between the baseboards and the wall. This will help to create a seamless look and prevent dust and debris from accumulating in the gaps.
- If you're working with a large area, it's a good idea to install the baseboards in sections. This will make the installation process easier and more manageable.
- Make sure to wear safety glasses and gloves when using power tools. This will help to protect you from any potential injuries.
- If you're not comfortable installing the baseboards yourself, you can always hire a professional to do the job for you. This will ensure that the baseboards are installed correctly and that the job is done to your satisfaction.
Conclusion
Installing baseboards on a stone wall can be a challenging but rewarding project. By following these steps and tips, you can install baseboards on your stone wall like a pro. Remember to choose the right baseboards for your project, prepare the wall properly, cut the baseboards to the appropriate length, install the baseboards securely, fill the nail holes, and paint or stain the baseboards to match the rest of the room.
If you have any questions or need help choosing the right baseboards for your project, please don't hesitate to contact us. We're here to help you make your home look its best. Whether you're a DIY enthusiast or a professional contractor, we have the baseboards and the expertise you need to get the job done right.
References
- "Baseboard Installation Guide." Home Depot.
- "How to Install Baseboards." This Old House.