

Repairing damaged ceiling molding can be a challenging yet rewarding project. As a ceiling molding supplier, I've witnessed firsthand the transformative power of well - maintained and repaired molding. In this blog, I'll share some practical steps and tips on how to repair damaged ceiling molding.
Assessing the Damage
The first step in any ceiling molding repair project is to carefully assess the damage. Ceiling molding can be damaged in various ways, such as cracks, chips, dents, or even complete breakage. Inspect the molding thoroughly, looking for any signs of wear and tear. Check for loose joints, as these can be a common issue over time.
If the damage is minor, such as small cracks or chips, you may be able to repair it yourself with relatively simple techniques. However, if the molding is severely damaged or broken, you might need to replace the affected section. For more complex damage, it's also a good idea to consult with a professional.

Gathering the Necessary Tools and Materials
Once you've assessed the damage, it's time to gather the tools and materials you'll need for the repair. Here's a basic list:
- Tools:
- Utility knife
- Sandpaper (various grits, from coarse to fine)
- Putty knife
- Hammer
- Nails or screws
- Measuring tape
- Miter saw (if you need to cut new molding)
- Materials:
- Wood filler or spackling compound
- Paint that matches the existing molding color
- Primer
- New molding (if replacement is required)
Repairing Minor Damage
Filling Cracks and Chips
For small cracks and chips, wood filler or spackling compound is your best friend. First, clean the damaged area thoroughly to remove any dust, dirt, or loose debris. Use a utility knife to widen the crack slightly, if necessary, to ensure better adhesion of the filler.
Apply the wood filler or spackling compound to the damaged area using a putty knife. Press the filler firmly into the crack or chip, making sure it's level with the surrounding molding. Smooth the surface of the filler with the putty knife, removing any excess.
Let the filler dry completely according to the manufacturer's instructions. This usually takes a few hours. Once dry, sand the filled area with fine - grit sandpaper until it's smooth and blends in with the rest of the molding.
Fixing Loose Joints
Loose joints in ceiling molding can be fixed by re - nailing or screwing the molding back into place. First, carefully lift the molding at the loose joint. Check if the nails or screws are loose or missing. If they are, use a hammer to drive in new nails or a screwdriver to insert new screws. Make sure the nails or screws are long enough to penetrate the wall or ceiling securely.
If the joint is still loose after re - nailing or screwing, you can use wood glue to strengthen the bond. Apply a small amount of wood glue to the joint, then press the molding back into place. Use clamps to hold the joint together while the glue dries.
Repairing Major Damage
Replacing a Damaged Section
If a section of the ceiling molding is severely damaged or broken beyond repair, you'll need to replace it. Start by measuring the length of the damaged section accurately using a measuring tape. Use a miter saw to cut a new piece of molding to the correct length. Make sure to cut the ends at the appropriate angles (usually 45 - degree angles for corners).
Remove the damaged section of the molding carefully. You may need to use a pry bar to gently lift it away from the wall or ceiling. Once the damaged section is removed, clean the area where the new molding will be installed.
Apply a small amount of construction adhesive to the back of the new molding. Align the new molding with the existing molding and press it firmly into place. Use nails or screws to secure the new molding, making sure it's level and flush with the surrounding molding.
Matching the Existing Molding
When replacing a section of molding, it's crucial to match the existing molding as closely as possible. If you're lucky, you may have some leftover molding from the original installation. If not, you can refer to the style and profile of the existing molding.
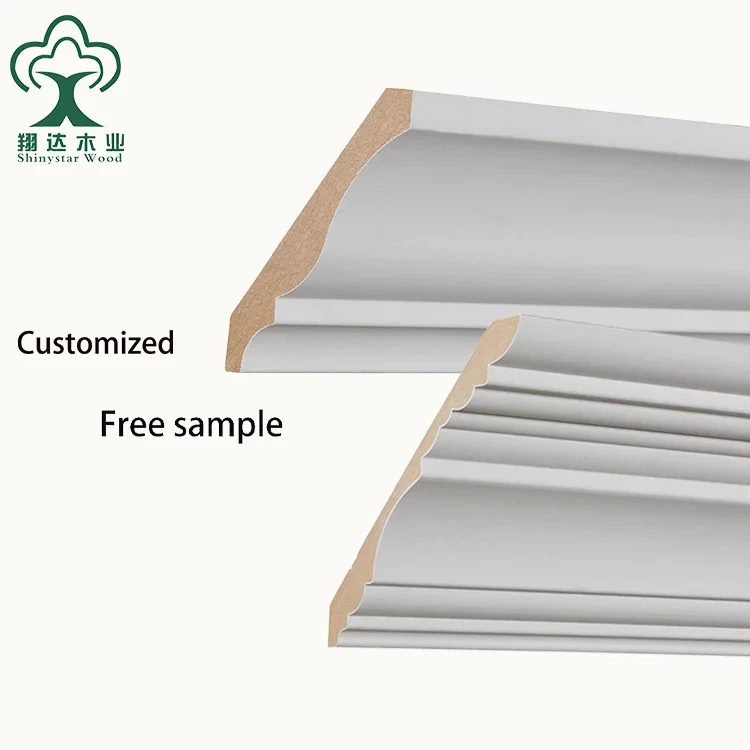
As a ceiling molding supplier, I offer a wide range of molding styles, including Bedroom Ceiling Molding and Wood Ceiling Crown Molding. These products come in various profiles and finishes, making it easier for you to find a perfect match for your existing molding.
Painting and Finishing
After the repair is complete, it's time to paint and finish the molding. First, apply a coat of primer to the repaired area and the new molding. Primer helps the paint adhere better and provides a more even finish.
Let the primer dry completely, then apply the paint that matches the existing molding color. Use a small brush to paint the molding, making sure to cover all the surfaces evenly. Apply multiple thin coats of paint, allowing each coat to dry before applying the next one.
Maintenance Tips
Once you've repaired your ceiling molding, it's important to maintain it properly to prevent future damage. Here are some maintenance tips:
- Regular Cleaning: Dust the molding regularly using a soft cloth or a feather duster. This helps prevent the buildup of dirt and grime, which can damage the paint and the molding over time.
- Avoid Impact: Be careful when moving furniture or other large objects near the ceiling molding. Avoid hitting the molding with sharp or heavy objects, as this can cause cracks or chips.
- Check for Moisture: Excess moisture can cause the molding to warp, crack, or rot. Check for signs of moisture, such as water stains or mold, and address the issue promptly.
Conclusion
Repairing damaged ceiling molding is a project that can enhance the aesthetic appeal of your home. Whether it's a minor repair or a major replacement, with the right tools, materials, and techniques, you can achieve professional - looking results.
As a ceiling molding supplier, I'm here to provide you with high - quality molding products and expert advice. If you're interested in purchasing new molding for your repair project or have any questions about ceiling molding, I encourage you to contact me for a procurement discussion. I'm confident that I can help you find the perfect molding solution for your needs.
References
- "Home Improvement Handbook" by DIY Experts
- Manufacturer's instructions for wood filler, spackling compound, and paint products