

Hey there! If you're looking to add a touch of elegance to your curved ceiling, installing ceiling molding is a great way to go. As a ceiling molding supplier, I've helped many folks spruce up their spaces with this classic architectural detail. In this blog, I'll walk you through the process of installing ceiling molding on a curved ceiling, step by step.
What You'll Need
First things first, let's talk about the tools and materials you'll need. Here's a quick list:
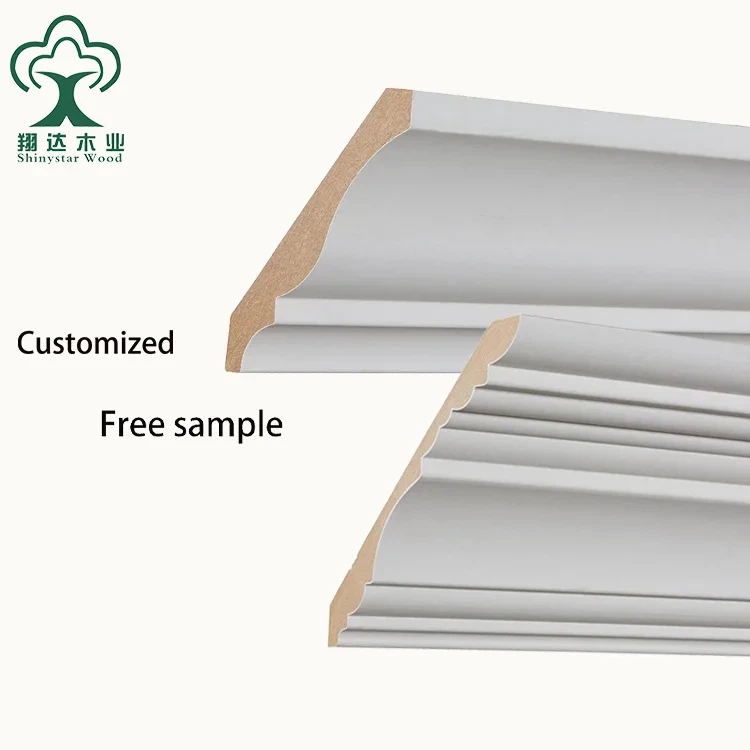
- Ceiling Molding: You can choose from a variety of materials, like wood, plaster, or polyurethane. Wood Ceiling Crown Molding is a popular choice for its natural beauty and durability.
- Measuring Tape: To measure the length and curvature of your ceiling.
- Miter Saw: This will help you make precise cuts at the right angles.
- Adhesive: A good quality adhesive is essential for attaching the molding to the ceiling.
- Nails and Nail Gun: For added security, you can use nails to hold the molding in place.
- Caulk and Caulking Gun: To fill in any gaps between the molding and the ceiling.
- Sandpaper: To smooth out any rough edges.
- Safety Gear: Don't forget to wear safety glasses and gloves to protect yourself.
Measuring Your Curved Ceiling
Before you start cutting your molding, you need to measure your curved ceiling accurately. Here's how you can do it:
- Use a Flexible Measuring Tape: Wrap the tape around the curve of your ceiling to get the length. Make sure to measure in several places to account for any irregularities.
- Mark the Curvature: Use a piece of string or a flexible ruler to mark the curvature of the ceiling on a piece of paper. This will help you visualize the shape and make accurate cuts.
- Transfer the Measurements: Transfer the measurements from the paper to your molding. You can use a pencil or a marker to mark the cutting lines.
Cutting the Molding
Once you have your measurements, it's time to cut the molding. Here are some tips to help you make precise cuts:
- Use a Miter Saw: A miter saw is the best tool for cutting molding at the right angles. Set the saw to the appropriate angle and make your cuts slowly and carefully.
- Test the Fit: Before you attach the molding to the ceiling, test the fit by holding it up against the curve. Make any necessary adjustments to the cuts to ensure a perfect fit.
- Cut the Inside and Outside Corners: For inside corners, cut the molding at a 45-degree angle. For outside corners, cut the molding at a 45-degree angle in the opposite direction.
- Use a Jigsaw for Complex Curves: If your ceiling has complex curves, you may need to use a jigsaw to make the cuts. Make sure to use a fine-tooth blade and cut slowly to avoid splintering the wood.
Attaching the Molding
Now that you have your molding cut to size, it's time to attach it to the ceiling. Here's how you can do it:
- Apply Adhesive: Apply a generous amount of adhesive to the back of the molding. Make sure to spread the adhesive evenly to ensure a strong bond.
- Position the Molding: Carefully position the molding against the curve of the ceiling. Use a level to make sure it's straight and level.
- Secure the Molding: Use a nail gun to secure the molding to the ceiling. Drive the nails into the ceiling at regular intervals, making sure not to over-nail.
- Fill in the Gaps: Once the molding is attached, use caulk to fill in any gaps between the molding and the ceiling. Smooth out the caulk with a caulking gun and a putty knife.
- Sand the Edges: Use sandpaper to smooth out any rough edges or bumps on the molding. This will give it a professional finish.
Finishing Touches
After you've attached the molding to the ceiling, it's time to add the finishing touches. Here are some tips to help you make your ceiling molding look its best:
- Paint or Stain the Molding: You can paint or stain the molding to match the color of your ceiling or walls. Make sure to use a high-quality paint or stain that is suitable for the material of your molding.
- Add Decorative Elements: You can add decorative elements, like rosettes or medallions, to the molding to give it a more elaborate look.
- Clean Up: Once you're finished installing the molding, clean up any debris or dust from the work area. Vacuum the floor and wipe down the walls to make your space look clean and tidy.
Conclusion
Installing ceiling molding on a curved ceiling may seem like a daunting task, but with the right tools and techniques, it can be a rewarding DIY project. By following the steps outlined in this blog, you can add a touch of elegance and sophistication to your home.
If you're interested in purchasing ceiling molding for your project, we're here to help. As a ceiling molding supplier, we offer a wide range of products to suit your needs and budget. Whether you're looking for Bedroom Ceiling Molding or something more elaborate, we have you covered.

If you have any questions or need further assistance, please don't hesitate to contact us. We'd love to help you with your ceiling molding project and make your home look its best.
References
- "How to Install Crown Molding on a Curved Ceiling." This Old House.
- "Installing Crown Molding on a Curved Ceiling." Family Handyman.
- "Tips for Installing Crown Molding on a Curved Ceiling." DIY Network.