

Installing wood wall panels on a textured wall can transform the look of any room, adding warmth, elegance, and a touch of nature. As a wood wall panel supplier, I've seen firsthand the impact these panels can have on interior spaces. In this blog post, I'll guide you through the process of installing wood wall panels on a textured wall, from preparation to finishing touches.
1. Understanding Your Wood Wall Panels
Before you start the installation process, it's essential to understand the type of wood wall panels you've chosen. We offer a variety of options, including Wood Wall Panel with Melamine Paper Veneer, Wood Wall Panel with Technical Veneer, and Wood Pvc Cladding. Each type has its own characteristics, advantages, and installation requirements.
- Wood Wall Panel with Melamine Paper Veneer: These panels are known for their durability, affordability, and a wide range of color and pattern options. The melamine paper veneer provides a smooth, easy - to - clean surface that can mimic the look of real wood.
- Wood Wall Panel with Technical Veneer: Technical veneer panels offer a more natural and luxurious look. They are made from thin slices of real wood, which are carefully selected and bonded to a substrate. These panels are ideal for creating a high - end, sophisticated look.
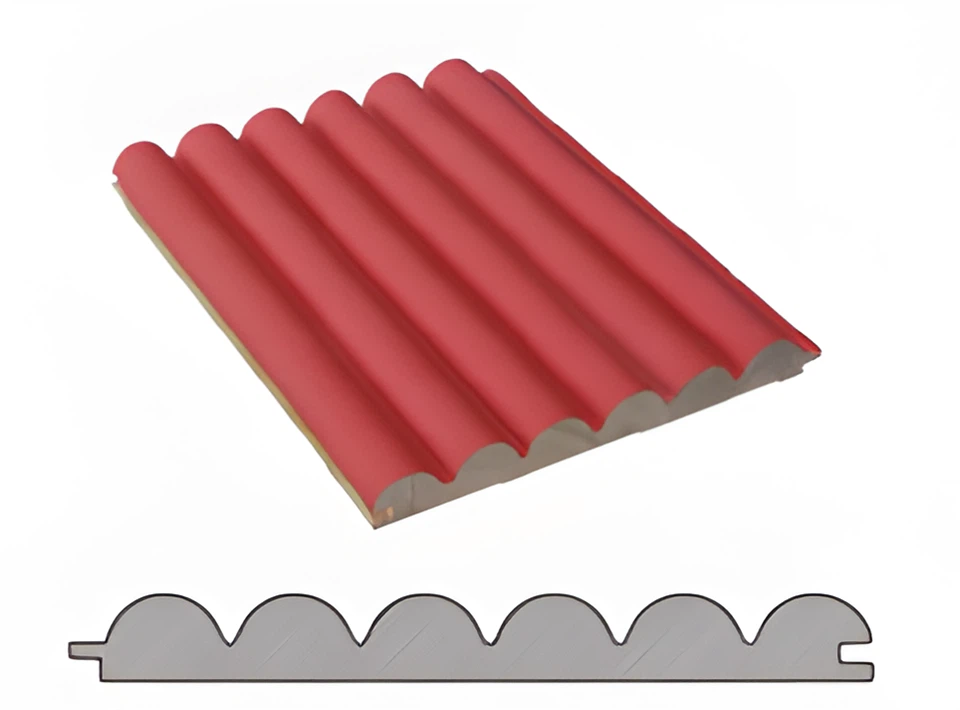
- Wood Pvc Cladding: Wood PVC cladding combines the beauty of wood with the durability and low - maintenance properties of PVC. It is resistant to moisture, rot, and insects, making it a great choice for areas with high humidity or moisture.
2. Preparing the Textured Wall
The first step in installing wood wall panels on a textured wall is to prepare the wall surface. This is crucial to ensure a smooth and secure installation.
- Clean the Wall: Start by removing any dust, dirt, or debris from the wall. You can use a broom or a vacuum cleaner to clean the surface thoroughly. If there are any stains or marks on the wall, you may need to use a mild detergent and water to clean them.
- Repair Any Damage: Inspect the wall for any cracks, holes, or uneven areas. Use a spackling compound to fill in the cracks and holes, and sand the repaired areas until they are smooth. This will help the wood wall panels adhere better to the wall.
- Measure the Wall: Measure the height and width of the wall to determine the number of wood wall panels you'll need. Make sure to add a few extra panels to account for any cutting or fitting errors.
3. Gathering the Necessary Tools and Materials
To install wood wall panels on a textured wall, you'll need the following tools and materials:
- Tools: Tape measure, level, saw (hand saw or power saw), drill, nail gun or hammer and nails, adhesive, caulking gun, sandpaper, and a utility knife.
- Materials: Wood wall panels, adhesive, nails or screws, caulking, and trim pieces (if desired).
4. Installing the Furring Strips
Since the wall is textured, it's recommended to install furring strips first. Furring strips are thin, narrow pieces of wood or metal that are attached to the wall to create a flat and even surface for the wood wall panels.
- Mark the Studs: Use a stud finder to locate the wall studs. Mark the position of the studs on the wall with a pencil.
- Cut the Furring Strips: Cut the furring strips to the appropriate length using a saw. The furring strips should be long enough to span the distance between the wall studs.
- Attach the Furring Strips: Use a drill or a nail gun to attach the furring strips to the wall studs. Make sure the furring strips are level and plumb. Space the furring strips about 16 inches apart for optimal support.
5. Cutting the Wood Wall Panels
Once the furring strips are installed, it's time to cut the wood wall panels to fit the wall.
- Measure and Mark the Panels: Measure the height and width of the wall sections where the panels will be installed. Mark the measurements on the back of the wood wall panels using a pencil.
- Cut the Panels: Use a saw to cut the wood wall panels according to the marked measurements. Make sure to wear safety goggles and a dust mask when cutting the panels to protect yourself from sawdust and debris.
6. Installing the Wood Wall Panels
Now that the panels are cut, it's time to install them on the wall.
- Apply Adhesive: Apply a generous amount of adhesive to the back of the wood wall panel using a trowel or a caulking gun. Make sure to spread the adhesive evenly across the entire surface of the panel.
- Position the Panel: Carefully position the panel on the wall, aligning it with the furring strips. Press the panel firmly against the wall to ensure good adhesion.
- Secure the Panel: Use a nail gun or a hammer and nails to secure the panel to the furring strips. Drive the nails or screws through the panel and into the furring strips at regular intervals. Make sure the nails or screws are flush with the surface of the panel.
- Continue Installing the Panels: Repeat the process for the remaining wood wall panels, working from the bottom up and from one side of the wall to the other. Make sure to leave a small gap between each panel to allow for expansion and contraction.
7. Finishing Touches
After all the wood wall panels are installed, it's time to add the finishing touches.
- Trim the Edges: Use a miter saw to cut the trim pieces to fit the edges of the wood wall panels. Attach the trim pieces to the panels using a nail gun or a hammer and nails. The trim pieces will give the installation a professional and finished look.
- Caulk the Seams: Use a caulking gun to apply a bead of caulking along the seams between the wood wall panels and the trim pieces. Smooth the caulking with a putty knife to create a clean and seamless look.
- Sand and Paint (Optional): If desired, you can sand the surface of the wood wall panels to smooth out any rough edges or imperfections. You can also paint or stain the panels to match the decor of the room.
8. Maintenance and Care
Once the wood wall panels are installed, it's important to take proper care of them to ensure their longevity.
- Clean Regularly: Use a soft, dry cloth to wipe down the wood wall panels regularly to remove any dust or dirt. If the panels get dirty, you can use a mild detergent and water to clean them.
- Avoid Moisture: Although some wood wall panels, such as wood PVC cladding, are moisture - resistant, it's still important to avoid exposing the panels to excessive moisture. Wipe up any spills immediately to prevent water damage.
- Inspect for Damage: Periodically inspect the wood wall panels for any signs of damage, such as cracks, chips, or loose panels. Repair any damage as soon as possible to prevent further problems.
9. Contact Us for Procurement
If you're interested in purchasing wood wall panels for your project, we're here to help. As a leading wood wall panel supplier, we offer high - quality products at competitive prices. Our team of experts can assist you in choosing the right type of wood wall panels for your needs and provide you with professional installation advice.
Whether you're a homeowner looking to renovate your living room or a contractor working on a commercial project, we have the products and expertise to meet your requirements. Contact us today to start the procurement process and transform your space with beautiful wood wall panels.

References
- "Home Improvement Handbook" - A comprehensive guide to various home improvement projects, including wall panel installation.
- "Woodworking Basics" - A book that provides in - depth knowledge about working with wood, including cutting, joining, and finishing techniques.
- Manufacturer's installation guides for wood wall panels, which provide specific instructions and recommendations for each type of panel.