

Installing MDF wall panels on a brick wall can transform the look of any room, adding a touch of elegance and sophistication. As a supplier of high-quality MDF wall panels, I've seen firsthand the impact these panels can have on a space. In this guide, I'll walk you through the process of installing MDF wall panels on a brick wall, from preparation to finishing touches.

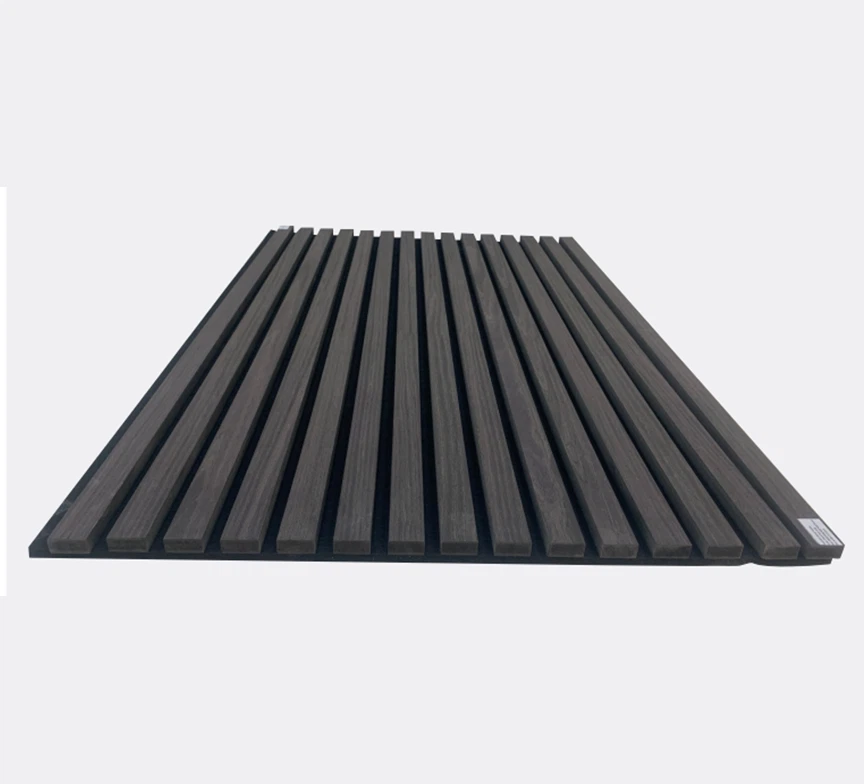
Understanding MDF Wall Panels
MDF, or Medium Density Fiberboard, is a popular choice for wall panels due to its smooth surface, uniform density, and affordability. It's made by breaking down hardwood or softwood residuals into wood fibers, combining them with wax and a resin binder, and then forming panels under high temperature and pressure. This process results in a stable, durable material that can be easily cut, shaped, and painted.
We offer a variety of MDF wall panels to suit different styles and preferences. Our Wood Mdf Paneling provides a natural wood look, while our MDF Wall Panel with Melamine Paper Veneer offers a wide range of colors and patterns. For a more luxurious look, our MDF Wall Panel with Technical Veneer is a great option.
Preparing the Brick Wall
Before you start installing MDF wall panels, it's important to prepare the brick wall properly. This will ensure a smooth, even surface for the panels and help them adhere better.
Clean the Wall
Start by cleaning the brick wall to remove any dirt, dust, or debris. You can use a stiff brush or a pressure washer to clean the wall. If there are any loose bricks or mortar, repair them before proceeding.
Check the Wall for Level
Use a level to check the wall for any unevenness. If the wall is not level, you may need to install furring strips to create a level surface for the panels. Furring strips are thin pieces of wood or metal that are attached to the wall vertically or horizontally.
Measure the Wall
Measure the height and width of the wall to determine how many panels you'll need. Make sure to account for any doors, windows, or other openings in the wall. It's a good idea to buy a few extra panels to account for any cutting errors or waste.
Gathering the Tools and Materials
To install MDF wall panels on a brick wall, you'll need the following tools and materials:
- MDF wall panels
- Measuring tape
- Utility knife
- Circular saw or jigsaw
- Level
- Drill
- Screwdriver
- Construction adhesive
- Nails or screws
- Furring strips (if needed)
- Sandpaper
- Primer and paint (if desired)
Installing the Furring Strips (if needed)
If the brick wall is not level, you'll need to install furring strips to create a level surface for the panels. Here's how to do it:
- Measure and mark the locations for the furring strips on the wall. The furring strips should be spaced evenly apart, typically 16 inches on center.
- Use a drill to make holes in the brick wall at the marked locations. Insert wall anchors into the holes.
- Attach the furring strips to the wall using screws or nails. Make sure the furring strips are level and plumb.
Cutting the MDF Wall Panels
Once you have the furring strips installed (if needed), it's time to cut the MDF wall panels to size. Here's how to do it:
- Measure and mark the panels for cutting. Use a straightedge and a utility knife to score the panel along the marked line.
- Use a circular saw or jigsaw to cut the panel along the scored line. Make sure to wear safety goggles and a dust mask when cutting the panels.
- Sand the edges of the cut panels to smooth them out.
Installing the MDF Wall Panels
Now that you have the panels cut to size, it's time to install them on the wall. Here's how to do it:
- Apply a generous amount of construction adhesive to the back of the first panel. Make sure to spread the adhesive evenly across the panel.
- Press the panel against the wall, starting at the bottom corner. Use a level to make sure the panel is plumb and level.
- Secure the panel to the wall using nails or screws. Make sure to drive the nails or screws into the furring strips or directly into the brick wall (if no furring strips are used).
- Repeat the process for the remaining panels, making sure to align them properly and leave a small gap between each panel for expansion.
- Use a caulking gun to fill the gaps between the panels with caulk. Smooth the caulk with a putty knife.
Finishing Touches
Once the panels are installed, you can add some finishing touches to make them look even better. Here are some ideas:
- Sand the surface of the panels to smooth them out.
- Apply a primer to the panels to help the paint adhere better.
- Paint the panels with your choice of paint color. You can use a roller or a brush to apply the paint.
- Add trim or molding around the edges of the panels to give them a more finished look.
Maintenance and Care
MDF wall panels are relatively easy to maintain and care for. Here are some tips:
- Clean the panels regularly with a damp cloth and mild detergent.
- Avoid using abrasive cleaners or scrubbers, as they can damage the surface of the panels.
- If the panels get scratched or damaged, you can sand them down and repaint them.
Conclusion
Installing MDF wall panels on a brick wall is a great way to transform the look of any room. With the right tools, materials, and techniques, you can achieve a professional-looking finish that will last for years. As a supplier of high-quality MDF wall panels, we're here to help you every step of the way. If you have any questions or need assistance with your project, please don't hesitate to contact us. We'd be happy to discuss your needs and help you find the perfect MDF wall panels for your space. Whether you're a DIY enthusiast or a professional contractor, we're committed to providing you with the best products and service.
References
- "Home Improvement Handbook" by DIY Experts
- "MDF Installation Guide" by Industry Professionals