

Installing a door jamb with a deadbolt is a significant home improvement project that enhances both the security and aesthetics of your property. As a door jamb supplier, I've witnessed firsthand the transformative power of a well - installed door jamb with a deadbolt. In this blog, I'll guide you through the step - by - step process of installing a door jamb with a deadbolt, ensuring that you can achieve professional - grade results.
Step 1: Gather Your Tools and Materials
Before you begin the installation process, it's essential to have all the necessary tools and materials at hand. Here's a list of what you'll need:
- Tools: Measuring tape, level, circular saw or miter saw, drill, screwdriver, chisel, hammer, and a utility knife.
- Materials: A pre - hung door jamb kit (you can explore our Commercial Door Jamb or Mdf Jamb options), deadbolt lock set, shims, wood glue, screws, and caulk.
Step 2: Measure the Door Opening
Accurate measurements are crucial for a proper fit. Use a measuring tape to measure the width, height, and depth of the door opening. Measure at multiple points to account for any irregularities. The width should be measured at the top, middle, and bottom of the opening, and the height should be measured on both sides and in the center. Note down these measurements carefully.
Step 3: Prepare the Door Jamb
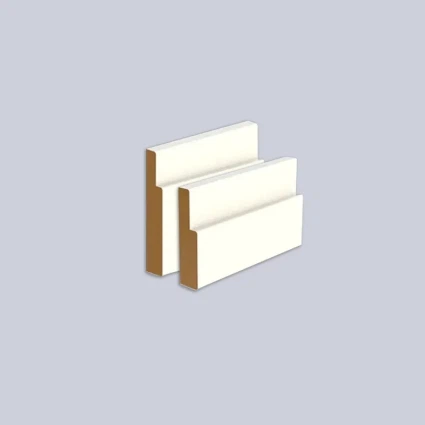
Inspect the pre - hung door jamb for any damage during transit. If you're using a custom - cut jamb, cut the pieces to the appropriate lengths using a circular saw or miter saw. Make sure the cuts are clean and square. Apply wood glue to the joints of the jamb pieces and assemble them according to the manufacturer's instructions. Use clamps to hold the pieces together until the glue dries.

Step 4: Install the Door Jamb in the Opening
Carefully place the assembled door jamb into the door opening. Use shims to level and plumb the jamb. A level is essential here to ensure that the jamb is perfectly vertical and horizontal. Insert shims between the jamb and the rough opening at the top, bottom, and sides. Check the level frequently as you adjust the shims. Once the jamb is level and plumb, mark the screw holes on the jamb and the rough opening.
Step 5: Secure the Door Jamb
Drill pilot holes through the marked holes in the jamb and into the rough opening. Use a drill bit that is slightly smaller than the screws you'll be using. Insert screws through the pilot holes to secure the jamb to the rough opening. Start with the top hinge jamb, followed by the bottom hinge jamb, and then the strike jamb. Make sure the screws are tightened securely, but be careful not to overtighten and split the wood.
Step 6: Install the Deadbolt
Now it's time to install the deadbolt. First, mark the location for the deadbolt on the edge of the door and the strike plate on the jamb. Use the template provided with the deadbolt lock set to ensure accurate placement. Drill holes for the deadbolt cylinder and the strike plate according to the template. Insert the deadbolt cylinder into the hole on the edge of the door and secure it with the provided screws. Install the strike plate on the jamb and align it with the deadbolt. Use screws to secure the strike plate in place.
Step 7: Test the Door and Deadbolt
Once the deadbolt is installed, test the door to make sure it opens and closes smoothly. Check the alignment of the deadbolt with the strike plate. Insert the key into the deadbolt and turn it to lock and unlock the door. If the door doesn't open or close properly, or if the deadbolt doesn't engage correctly, you may need to make some adjustments. You can adjust the shims to fine - tune the alignment of the jamb or make minor adjustments to the deadbolt installation.
Step 8: Finish the Installation
After ensuring that the door and deadbolt are working correctly, it's time to finish the installation. Use a utility knife to trim any excess shims. Apply caulk around the perimeter of the jamb to seal it and prevent air and water leakage. You can also paint or stain the door jamb to match the interior or exterior of your home.
Tips for a Successful Installation
- Take Your Time: Rushing through the installation process can lead to mistakes. Take the time to measure accurately, level the jamb properly, and install the deadbolt correctly.
- Follow the Manufacturer's Instructions: Each door jamb and deadbolt lock set may have specific installation instructions. Make sure to read and follow these instructions carefully.
- Seek Help if Needed: If you're not confident in your DIY skills, don't hesitate to seek help from a professional. A professional installer can ensure that the door jamb and deadbolt are installed correctly and safely.
Why Choose Our Door Jambs
As a door jamb supplier, we offer a wide range of high - quality door jambs to meet your needs. Our Commercial Door Jamb is designed for commercial applications, providing durability and security. Our Mdf Jamb is a cost - effective option that offers a smooth finish and easy installation. We source our materials from trusted suppliers and ensure that each jamb meets strict quality standards.
If you're interested in purchasing door jambs for your project, we invite you to contact us for a consultation. Our team of experts can help you choose the right door jamb and deadbolt for your specific requirements. We offer competitive prices, excellent customer service, and fast delivery. Whether you're a homeowner looking to upgrade your front door or a contractor working on a large - scale project, we have the products and expertise to meet your needs. Contact us today to start your door jamb installation project.
References
- "Home Improvement Handbook" - A comprehensive guide to various home improvement projects, including door and window installations.
- Manufacturer's instructions for the door jamb and deadbolt lock set used in the installation.