

Installing a door jamb on a patio door is a task that requires careful planning, the right tools, and a bit of patience. As a door jamb supplier, I've seen firsthand how a well - installed door jamb can enhance the functionality and aesthetics of a patio door. In this blog, I'll guide you through the process of installing a door jamb on a patio door step by step.

Step 1: Gather the Necessary Tools and Materials
Before you start the installation, make sure you have all the tools and materials you need. Here's a list:
- Tools: Measuring tape, level, saw (either a handsaw or a power saw depending on your preference and the type of jamb), drill, screwdriver, chisel, and a hammer.
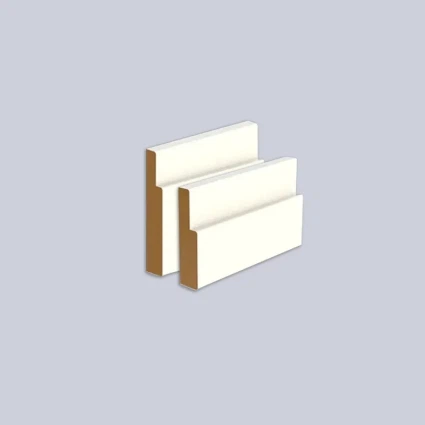
- Materials: The door jamb itself. You can choose from different types such as Commercial Door Jamb for more heavy - duty applications or Mdf Jamb which is more lightweight and cost - effective. You'll also need shims, screws, and nails.
Step 2: Measure the Patio Door Opening
Accurate measurements are crucial for a proper fit. Use a measuring tape to measure the width, height, and depth of the patio door opening. Measure the width at the top, middle, and bottom of the opening. It's common for openings to be slightly out of square, so taking multiple measurements will help you account for any variations. Measure the height at both sides and the middle. Record these measurements carefully.
Step 3: Prepare the Door Jamb
Once you have the measurements, it's time to prepare the door jamb. If the jamb is too long, use a saw to cut it to the appropriate height. Make sure your cuts are straight and precise. You may need to make miter cuts at the corners of the jamb if you're using a pre - assembled unit. After cutting, sand the edges of the jamb to smooth out any rough spots.
Step 4: Position the Door Jamb in the Opening
Carefully place the door jamb into the patio door opening. Start by inserting the side jambs and then the head jamb (the top part of the jamb). Use shims to hold the jamb in place temporarily. Place the shims between the jamb and the rough opening at regular intervals, usually every 12 to 16 inches.
Step 5: Check for Level and Plumb
Use a level to check if the door jamb is level horizontally and plumb vertically. A level has a bubble that indicates when a surface is perfectly level or plumb. Adjust the shims as needed to ensure that the jamb is straight. This step is crucial because an unlevel or unplumb jamb can cause the door to not close properly or may lead to premature wear and tear.
Step 6: Secure the Door Jamb
Once the jamb is level and plumb, it's time to secure it in place. Use a drill to pre - drill holes in the jamb and then insert screws or nails through the jamb into the rough opening. Make sure the fasteners are long enough to penetrate the rough framing but not so long that they go through the other side. Start by securing the head jamb, then move on to the side jambs. Check the level and plumb again after each fastener is installed to ensure that the jamb hasn't shifted.
Step 7: Install the Hinges and Door
After the jamb is securely installed, it's time to install the hinges. Mark the location of the hinges on the jamb and the door according to the manufacturer's instructions. Use a chisel to create a recess for the hinges so that they sit flush with the surface of the jamb and the door. Attach the hinges to the jamb and the door using screws. Then, hang the door on the hinges. Check to make sure the door opens and closes smoothly. If there are any issues, adjust the hinges or the shims as needed.
Step 8: Finish the Installation
Once the door is hanging properly, remove any excess shims and fill the holes and gaps around the jamb with caulk or wood filler. Sand the filled areas to make them smooth. You can then paint or stain the jamb to match the rest of your patio decor.
Troubleshooting Tips
- Uneven Door Closing: If the door doesn't close evenly, it may be because the jamb is not level or plumb. Check the level and plumb again and adjust the shims as needed.
- Sticking Door: A sticking door can be caused by a jamb that is too tight or by a misaligned hinge. Try adjusting the hinges or sanding the edges of the door or the jamb to create more clearance.
- Gaps around the Door: If there are large gaps around the door, it may be because the jamb was not installed correctly or the door is not the right size. Check the installation and consider replacing the door if necessary.
Why Choose Our Door Jambs
As a door jamb supplier, we offer a wide range of high - quality door jambs. Our jambs are made from premium materials that are durable and long - lasting. We have different styles and finishes to suit your specific needs and preferences. Whether you're looking for a Commercial Door Jamb for a commercial property or an Mdf Jamb for a residential patio door, we have you covered. Our team of experts is always available to provide you with advice and support throughout the installation process.
Contact Us for Your Door Jamb Needs
If you're interested in purchasing door jambs for your patio door or have any questions about the installation process, don't hesitate to contact us. We're here to help you find the perfect door jamb solution for your project. Whether you're a DIY enthusiast or a professional contractor, we can provide you with the products and support you need to get the job done right.
References
- "Home Improvement Handbook" - A comprehensive guide to various home improvement projects including door installation.
- Manufacturer's instructions for the specific door jamb and patio door you are using. These instructions often provide detailed information on installation and troubleshooting.