

Installing a door jamb on a barn door might seem like a daunting task, but with the right guidance and high - quality materials, it can be a manageable DIY project or a smooth professional installation. As a door jamb supplier, I've seen firsthand the importance of proper installation and the right choice of door jamb for the job. In this blog, I'll walk you through the step - by - step process of installing a door jamb on a barn door.
Step 1: Measure and Select the Right Door Jamb
Before you start the installation, accurate measurements are crucial. Measure the height and width of the barn door opening. Make sure to measure at multiple points to account for any irregularities in the opening. When it comes to selecting the door jamb, we offer a variety of options, including Commercial Door Jamb and Mdf Jamb.
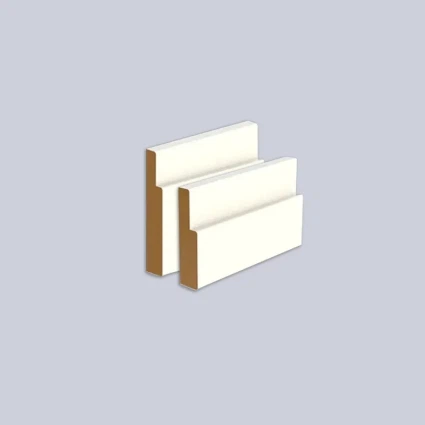
Commercial door jambs are ideal for high - traffic areas or commercial settings. They are built to withstand heavy use and offer excellent durability. On the other hand, MDF jambs are a cost - effective and lightweight option. They are easy to work with and can be painted or finished to match your barn door and the surrounding decor.
Step 2: Prepare the Door Opening
The next step is to prepare the barn door opening. Remove any debris, old caulk, or paint from the opening. Check for any structural issues such as loose framing or uneven surfaces. If the opening is not square, you may need to make adjustments. You can use a framing square to check the angles of the opening. If necessary, shim the framing to make it square. This will ensure a proper fit for the door jamb.
Step 3: Cut the Door Jamb
Once you have the correct measurements, it's time to cut the door jamb. Use a miter saw to make precise cuts. For the side jambs, cut them to the height of the door opening. For the head jamb (the top part of the jamb), cut it to the width of the opening. Make sure to cut the ends of the jambs at a 45 - degree angle for a clean, mitered corner.
Step 4: Dry Fit the Door Jamb
Before you permanently install the door jamb, do a dry fit. Place the side jambs and the head jamb in the door opening. Check for a proper fit. Make sure the jambs are level and plumb. You can use a level to ensure that the jambs are perfectly vertical and horizontal. If there are any gaps or misalignments, make adjustments. You may need to trim the jambs slightly or add shims to fill in any spaces.
Step 5: Install the Door Jamb
Once you're satisfied with the dry fit, it's time to install the door jamb permanently. Apply construction adhesive to the back of the jambs. This will help to secure the jambs to the framing and prevent any movement over time. Place the jambs back in the opening and use a nail gun or screws to attach them to the framing. Start by nailing or screwing the side jambs at the top, middle, and bottom. Then, attach the head jamb to the side jambs. Make sure the nails or screws are driven in at an angle to provide better holding power.
Step 6: Shim and Adjust
After attaching the jambs, check for level and plumb again. If necessary, insert shims between the jamb and the framing to make any final adjustments. Shims are thin, tapered pieces of wood that can be used to fill in small gaps and ensure a perfect fit. Once you're happy with the alignment, drive nails or screws through the shims into the framing to secure them in place.
Step 7: Finish the Installation
Once the door jamb is securely installed, it's time to finish the installation. Fill any nail holes or gaps with wood filler. Sand the surface of the jamb smooth. You can then paint or stain the jamb to match your barn door and the surrounding area. Apply a sealant to protect the jamb from moisture and wear.
Step 8: Hang the Barn Door
After the jamb is finished, you can hang the barn door. Install the barn door hardware according to the manufacturer's instructions. Make sure the door slides smoothly on the track. Adjust the hardware if necessary to ensure proper alignment and operation.
Tips and Tricks
- Always wear safety gear such as safety glasses and gloves when working with power tools.
- Take your time with the measurements and cuts. Precision is key to a successful installation.
- If you're unsure about any step of the process, don't hesitate to consult a professional.
- When choosing a door jamb, consider the style and function of your barn door. A well - chosen jamb can enhance the overall look and performance of the door.
Conclusion
Installing a door jamb on a barn door is a rewarding project that can enhance the functionality and aesthetics of your space. By following these steps and using high - quality door jambs from our selection, you can achieve a professional - looking installation. Whether you're a DIY enthusiast or a professional contractor, we have the right door jamb for your project.
If you're interested in purchasing door jambs for your barn door installation or have any questions about our products, we invite you to contact us for a consultation. Our team of experts is ready to assist you in choosing the best door jamb for your needs and providing any support you may require during the installation process.

References
- "Home Improvement Handbook" - A comprehensive guide to various home improvement projects including door installation.
- Manufacturer's instructions for the barn door hardware used in the installation.