

Ensuring a seamless installation of wood MDF paneling is a crucial process that requires careful planning, the right tools, and proper techniques. As a supplier of high - quality Wood MDF Paneling, I have witnessed firsthand the transformation that these panels can bring to a space when installed correctly. In this blog, I will share some essential steps and tips to help you achieve a flawless installation.
Pre - installation Preparation
Before you even start the installation process, it is essential to make thorough preparations. First, measure the area where the wood MDF paneling will be installed. Accurate measurements are the foundation of a successful installation. Use a reliable tape measure to measure the length and height of the walls or surfaces. Make sure to measure multiple times to ensure accuracy, as even a small measurement error can lead to gaps or uneven paneling.
Next, inspect the installation surface. The surface should be clean, dry, and flat. Remove any dirt, dust, or debris from the surface. If there are any bumps or uneven areas, use sandpaper or a leveling compound to smooth them out. A flat surface ensures that the panels will fit snugly and look uniform.
It is also important to check the panels themselves. Examine each panel for any defects such as cracks, warping, or scratches. If you find any defective panels, set them aside and contact your supplier for replacements. As a Wood MDF Paneling supplier, we always strive to provide our customers with high - quality products, and we are more than willing to help you resolve any issues with defective panels.
Choosing the Right Adhesive and Fasteners
Selecting the appropriate adhesive and fasteners is crucial for a secure and long - lasting installation. For wood MDF paneling, a high - quality construction adhesive is often recommended. Look for an adhesive that is specifically designed for use with MDF and wood products. The adhesive should provide strong bonding and be resistant to moisture and temperature changes.
When it comes to fasteners, nails or screws can be used depending on the type of installation and the surface. Finish nails are a popular choice for a more seamless look, as they can be countersunk and filled later. Make sure to choose nails or screws that are long enough to penetrate the panel and secure it to the surface.
Installation Process
- Layout and Marking
Start by laying out the panels on the floor to plan the installation pattern. This will help you visualize how the panels will fit together and identify any areas that may require cutting. Mark the position of the panels on the wall using a chalk line or a straightedge. Make sure the markings are straight and level. - Applying Adhesive
Apply the adhesive to the back of the panel according to the manufacturer's instructions. Use a notched trowel to spread the adhesive evenly, creating a consistent layer. Be careful not to apply too much adhesive, as it can squeeze out and create a mess. - Positioning the Panels
Carefully lift the panel and align it with the markings on the wall. Press the panel firmly against the wall, starting from the top and working your way down. Use a level to ensure that the panel is straight and plumb. If necessary, use shims to adjust the position of the panel until it is perfectly level. - Securing the Panels
Once the panel is in position, use nails or screws to secure it to the wall. Start at the edges and work your way towards the center, spacing the fasteners evenly. Make sure to drive the nails or screws in straight and flush with the surface of the panel. - Cutting the Panels
In some cases, you may need to cut the panels to fit around corners, windows, or doors. Use a fine - tooth saw or a jigsaw to make clean and precise cuts. Measure twice and cut once to avoid any mistakes. You can also use a router to create a smooth edge on the cut panel.
Finishing Touches
After all the panels are installed, it is time to add the finishing touches. Fill any nail holes or gaps with wood filler. Choose a wood filler that matches the color of the panels for a seamless look. Once the filler is dry, sand it smooth using fine - grit sandpaper.
You can then apply a finish to the panels to protect them and enhance their appearance. There are various finishes available, such as paint, stain, or varnish. Choose a finish that suits your style and the environment where the panels are installed.
Maintenance and Care
Proper maintenance and care will ensure that your wood MDF paneling looks great for years to come. Avoid using abrasive cleaners or harsh chemicals on the panels, as they can damage the finish. Instead, use a mild soap and water solution to clean the panels. Wipe up any spills immediately to prevent staining.
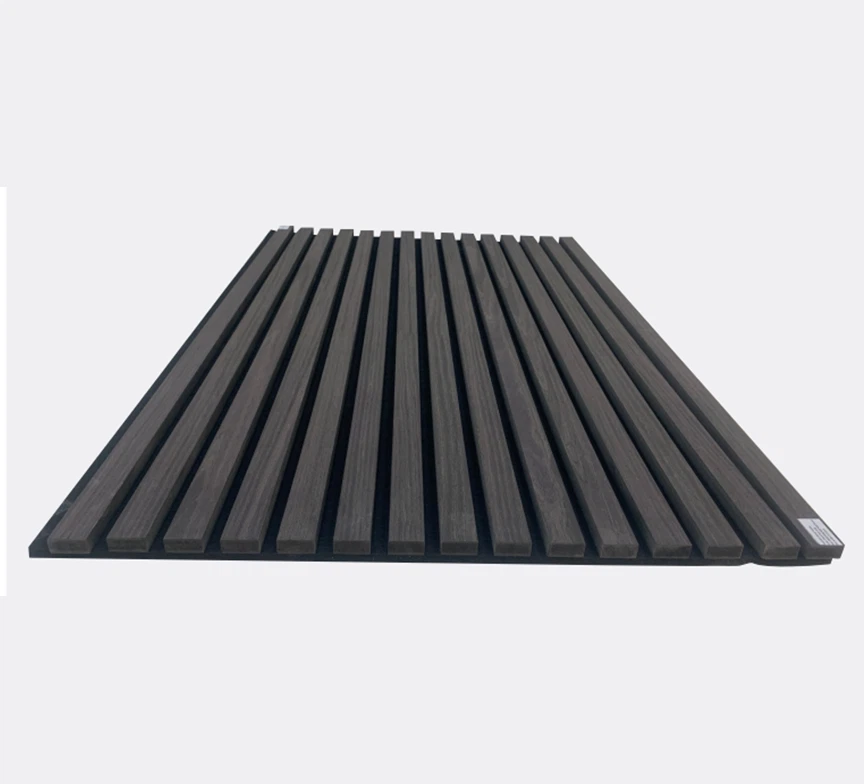

Regularly inspect the panels for any signs of damage or wear. If you notice any issues, address them promptly to prevent further damage.
Conclusion
Installing wood MDF paneling can be a rewarding project that adds beauty and value to your space. By following these steps and tips, you can ensure a seamless installation. As a Wood MDF Paneling supplier, we are committed to providing you with the best products and support. If you are interested in purchasing our Wood Mdf Paneling, MDF Wall Panel with Melamine Paper Veneer, or MDF Wall Panel with Technical Veneer, please feel free to contact us for more information and to discuss your specific needs. We look forward to working with you on your next project.
References
- Woodworking for Dummies, by Jeff Strong
- The Complete Guide to Home Improvement, by DIY Network